Bowtie diagrams tips, tricks & traps
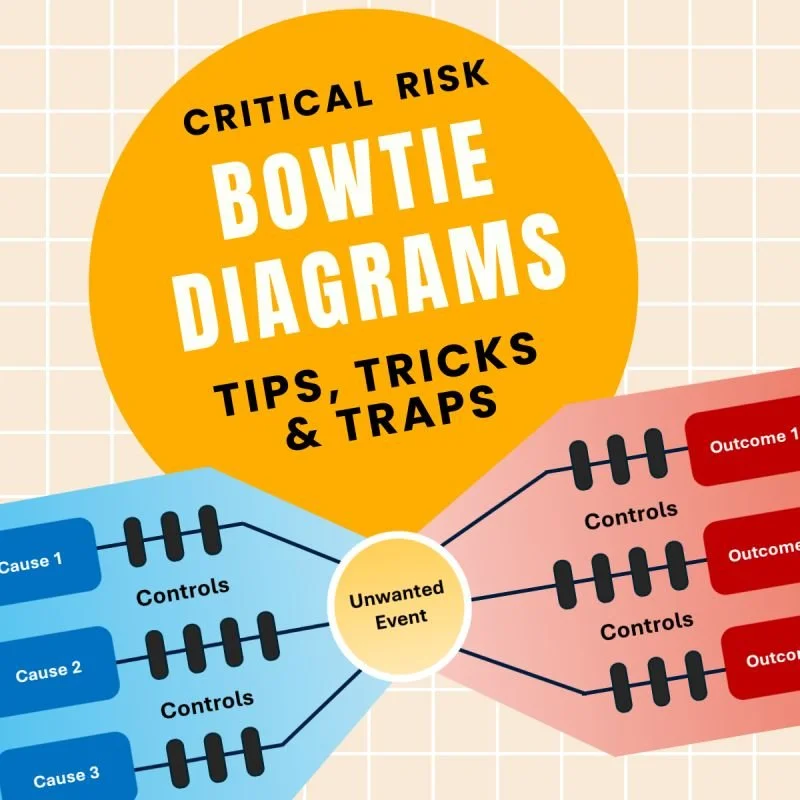
For me, keeping a bowtie diagram clear and concise is absolutely critical. Here are some tips, tricks, and traps to help you achieve that when developing bowtie diagrams as part of a critical risk program:
✅ Get the right people in the room: When running a bowtie workshop, make sure you have both the technical experts and representation from across the business. You want ownership and input from your subject matter experts.
✅ Take time to define the Material Unwanted Event: Ensure there is clear agreement on the event that marks the point where control over the hazard is lost. Getting this right sets you up for success.
✅ Keep causal factors focused: Aim for no more than 8 causes — 5 or 6 is better. Roll items up with similar controls to deliver a more succinct diagram.
✅ Don’t clutter the diagram with non-controls: To keep it concise, avoid including management plans, training, supervision, policies, or procedures as controls. These are important, but they support controls — they aren’t controls themselves.
✅ Similarly, permits are not controls: Yes, it’s controversial! But a Work at Heights Permit, for example, is not a control. The fall restraint or fall arrest harnesses required by the permit are the controls.
✅ Pay attention to mitigating controls: They’re often overlooked — spend time seeking out the mitigating or recovery based controls.
✅ Review with the frontline: Test the draft bowtie with frontline workers who do the work and use the controls. Do the causes and controls reflect reality? This helps validate the diagram and build buy-in.
✅ Use a skilled facilitator: An experienced person to guide the process makes all the difference in keeping the workshop focused and on track.
If you need help with that last one — or with anything related to your critical risk management system — feel free to reach out.